How to Remove TOYOTA Decals
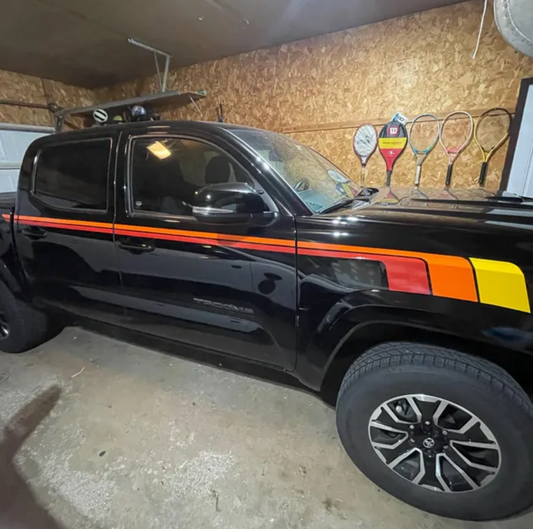
Removing decals from your Toyota can seem daunting, but with the right approach, it’s straightforward and can be done without damaging your vehicle's paint. In this guide, we’ll walk you through the steps to safely remove those unwanted decals, whether they’re on a Toyota Tacoma, 4Runner, Tundra or any other model.
What You’ll Need
Before you start, gather these supplies:
- Heat source (hair dryer or heat gun)
- Clean cloths or rags
- Soapy water
- Adhesive remover (like Goo Gone) or white vinegar
- Plastic card (such as a rewards card)
How to remove decals from car
Step 1: Clean It With Soapy Water
Start by cleaning the area around the decal. Use warm, soapy water to remove any dirt or grime. This step is crucial because it prevents scratches on your paint while you’re removing the decal.
Step 2: Heat It Up
Next, apply heat to the decal to loosen the adhesive. A hair dryer works well—just set it to the highest heat setting and keep it a few inches away from the decal. If you’re using a heat gun, be cautious as it can be too powerful. Heat the decal for about two minutes, focusing on the edges.
Step 3: Peel It Off
Once the decal is heated, grab your plastic card and gently lift the edges of the decal. Avoid sharp objects to prevent scratching the paint. Pull the decal off slowly, using a side-to-side motion for better control.
Step 4: Use a Glue Removal Product or Vinegar
After removing the decal, you might find some adhesive residue left behind. Apply adhesive remover or white vinegar to a cloth and rub it over the area to eliminate the sticky residue. Follow the product instructions if you’re using an adhesive remover. If you're looking for more specialized solutions, many specialty stores offer professional-grade adhesive removers specifically designed for automotive use. These products can be particularly effective and safe for your vehicle's paint, giving you peace of mind while you clean up any leftover adhesive.
Step 5: Wash and Dry the Area
Once the residue is gone, wash the area again with soapy water to remove any remaining cleaner. Make sure to dry it completely.
Step 6: Wax It
To protect your paint after the decal is removed, apply a layer of car wax. This will help keep your car looking great and shield the paint from the elements.
Bonus Step: Decal Removal Eraser Wheel
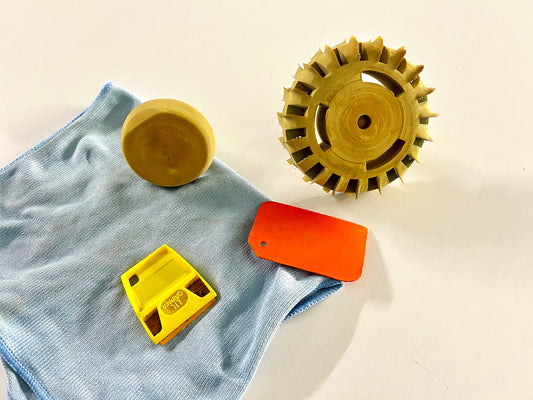
For stubborn residue, consider using a decal removal eraser wheel, which can also be found at specialty stores. This tool attaches to a power drill and effectively removes adhesive without damaging the paint. However, if the decal is old or has been on the surface for a long time, the polishing process might be necessary afterward. We recommend leaving polishing to the professionals, as it ensures that the paint beneath the removed decal matches the rest of the panel, restoring your vehicle’s pristine appearance.

Other Methods
If you don’t have access to heat tools, you can use warm water instead. Soak a cloth in hot water and press it against the decal for a few minutes to loosen the adhesive. Alternatively, nail polish remover can be effective for window decals, but be cautious not to apply it to the paint.
FAQs About Removing Decals from Cars
Q: Will removing a decal damage my Toyota's paint? A: If done carefully, removing a decal should not damage the paint. Always clean the area first and avoid sharp tools.
Q: What if the adhesive is still sticky after removing the decal? A: You can use adhesive remover or white vinegar to clean up any leftover residue.
Q: Can I use a heat gun? A: A heat gun can be too powerful for most cars. A hair dryer is usually a safer choice.
Q: How do I remove old, faded decals? A: Follow the same steps for cleaning, heating, and peeling. Older decals may require a bit more effort to remove.
Start With Stand-Out Decals From BROKENstickers
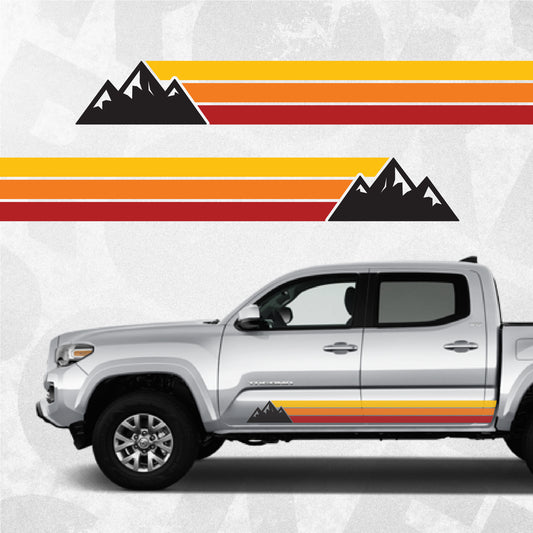
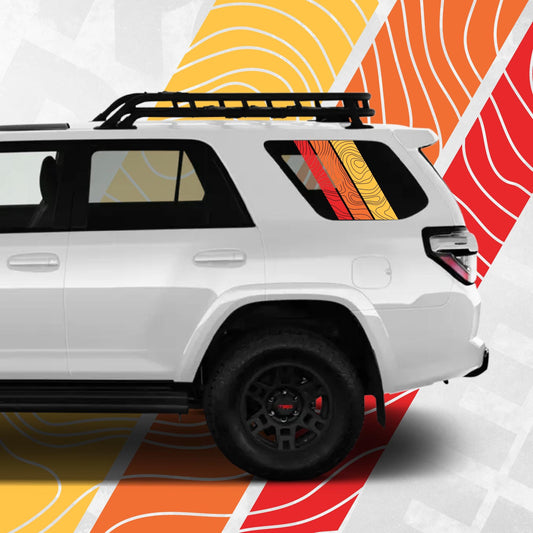
If you're looking to refresh your Toyota with new decals, check out BROKENstickers.com for high-quality, custom options that can enhance your vehicle’s look without the hassle of removal.
Happy decal removing!


